


Designing a restaurant is a blend of art, strategy, and functionality. It’s not just about how it looks — it’s about how it feels, how it flows, and how it functions for both staff and customers. Whether you’re opening a small café, a fine-dining establishment, or a fast-casual spot, a thoughtful design can significantly impact your success.
Here’s a step-by-step guide on how to design a restaurant that is beautiful, efficient, and brand-aligned:
Step 1: Define the Concept
Before you sketch anything, start with clarity on your restaurant’s identity.
Ask:
- What type of cuisine are you serving?
- What is your price point?
- What’s your target audience? (Families, millennials, business professionals?)
- Are you aiming for fast, casual, or luxury dining?
Your concept will drive every design decision — from layout to lighting.
Step 2: Plan the Layout (Functionality First)
A restaurant is a working machine. Good flow = happy staff + happy guests.
Key Zones to Design:
- Entrance & Waiting Area
- Dining Area (main, private, or outdoor seating)
- Bar (if applicable)
- Kitchen & Prep Area
- Restrooms
- Service Station / POS
- Storage
Seating Layout:
- Ensure tables aren’t too cramped (ideal space between tables is 24–30 inches).
- Use booths, banquettes, and high tops to vary seating types.
- Plan for at least 60% of the space to be dedicated to the dining area and 40% to the kitchen and support areas.
Step 3: Choose a Color Scheme (Based on Psychology)
Colors influence how people feel, eat, and even how long they stay.
- Red, orange, yellow: Stimulate appetite, great for fast food and casual spots.
- Green: Signals freshness and health — ideal for organic or vegan spots.
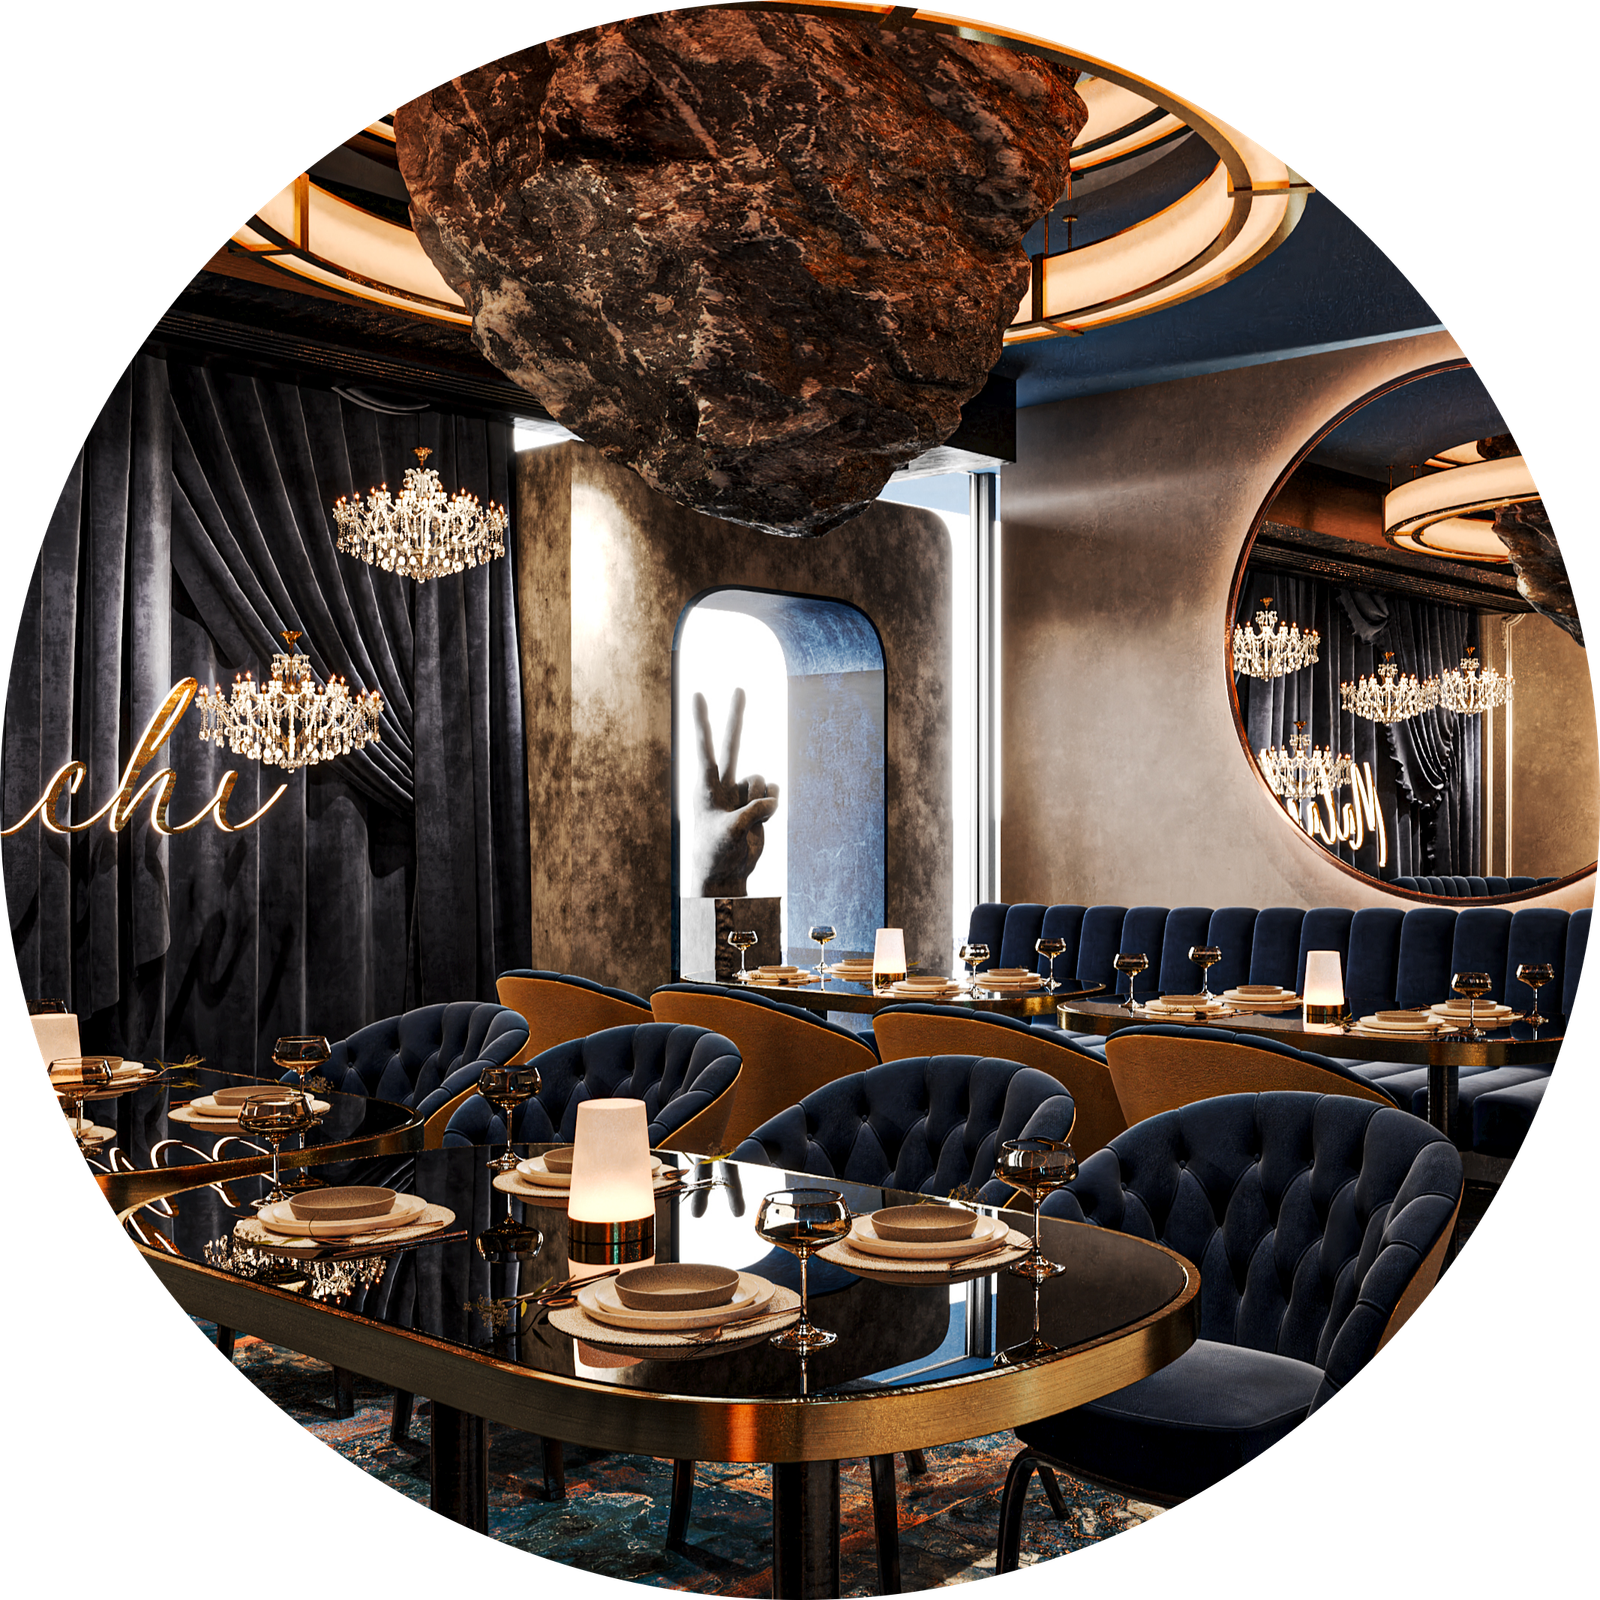
- Dark hues (navy, black, deep green): Add sophistication and intimacy — good for fine dining.
- Neutrals: Offer flexibility and pair well with bold accents.
Align colors with your brand identity and concept. Use accent colors in furniture, lighting, and decor for personality.
Step 4: Design the Lighting (Set the Mood)
Lighting is crucial in creating ambience and highlighting focal points.
- Ambient lighting: Overall light source — think overhead fixtures, natural light.
- Task lighting: Functional light in the kitchen, bar, or reading menus.
- Accent lighting: Spotlights on artwork, walls, or architectural features.
Step 5: Select Furniture and Materials
Choose pieces that balance aesthetics, comfort, and durability.
For seating:
- Prioritize ergonomics — comfortable chairs = longer dining times.
- Vary group sizes with 2-tops, 4-tops, booths, and communal tables.
Materials:
- Easy-to-clean surfaces (wood, metal, treated fabric)
- Stain- and scratch-resistant tables
- Flooring that’s non-slip and durable (vinyl, tile, sealed concrete)
Step 6: Add Branding & Decor
Your interior should tell your story and reinforce your brand message.
Ideas:
- Custom wall art or murals
- Logo-printed menus or napkins
- Branded colors and lighting
- Decor that reflects your cuisine’s culture or your brand’s personality
Step 7: Ensure Practical Systems Are in Place
Beyond looks, you need solid infrastructure:
- HVAC and ventilation, especially in kitchens
- Acoustics: Use sound-absorbing materials so the space doesn’t get too noisy
- Restroom accessibility
- Compliance with fire safety, ADA, and local health codes
Step 8: Test and Iterate
Before the grand opening:
- Do a soft launch
- Get feedback on comfort, flow, lighting, and acoustics
- Adjust layouts or decor as needed
Real-world use often reveals what blueprints can’t.


